
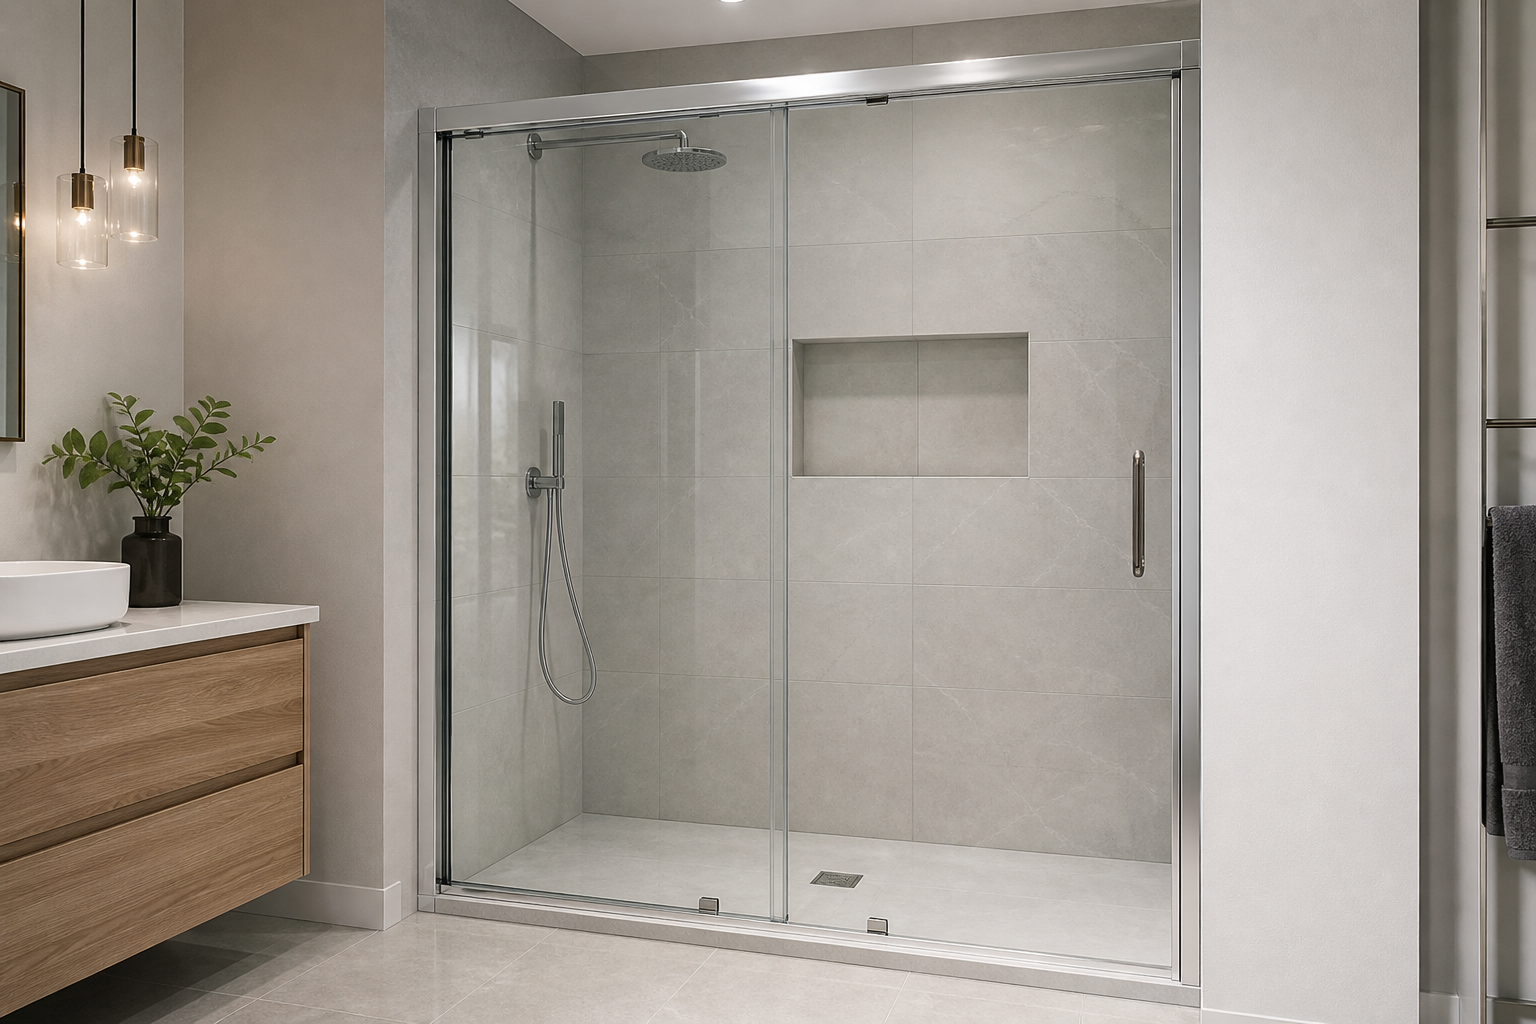
A Practical Guide to Sliding Shower Doors
Sliding shower doors are a space-savvy, clean-lined way to enclose a shower or tub. Whether you are replacing a curtain, updating a dated enclosure, or planning a full bathroom renovation, understanding how these doors work—and what to look for—helps you make a confident, durable choice. This guide walks through core configurations, measurement tips, glass and hardware options, waterproofing details, care routines, and answers to common questions so you can select and live with sliding shower doors successfully.
How sliding shower doors work
Sliding shower doors move along a guided path—either on rollers attached to a top rail, on a bottom track, or with both top and bottom guidance. The system you choose affects day-to-day experience, maintenance, and aesthetics.
- Top-rolling barn-style: Doors hang from rollers on a sturdy top rail. The lower edge is guided by a small floor or sill guide to prevent swing. This style minimizes debris buildup on the floor area.
- Framed bypass with top and bottom tracks: Two overlapping panels ride in parallel tracks. Each panel can often slide, allowing entry from either side.
- Semi-frameless bypass: Reduced metal framing highlights glass while retaining guided tracks for stability.
- Curved or custom-track systems: Designed for special layouts, including some alcove tubs or unique shower footprints.
Key components include rollers or wheels, a rail or track, stops to limit travel, guides to keep the bottom of the glass aligned, and seals that manage water. Good alignment and smooth-rolling hardware make the biggest difference in daily use.
Common configurations
When people say “sliding shower doors,” they usually mean one of a few layout categories. Knowing which configuration matches your opening saves time when comparing options.
- Bypass for alcove showers: Two panels overlap and slide past each other within a three-wall alcove.
- Single-sliding panel with fixed panel: One glass panel remains stationary; the other slides behind it. This is common in barn-style systems.
- Tub sliders (bypass or single-sliding): Sized for standard bathtub openings; help contain splashes better than curtains.
- Return-panel layouts: A sliding assembly on the front, plus an additional fixed glass “return” panel at a right angle to close off corner showers.
Measure the finished opening after tile or wall panels are complete. If your walls are not perfectly plumb, some framed systems can compensate using adjustable jambs, while many barn-style systems prioritize a plumb, square opening for best results.
Measuring for a proper fit
Accurate measurement is the foundation of smooth, leak-resistant performance. Use a quality tape and a level. Record measurements to the nearest 1/16 inch where possible.
- Width at three points: Measure the opening width at the threshold/sill, mid-height, and top. Note the smallest measurement and any variation (out-of-square).
- Height: Measure from the top of the threshold or tub deck to the intended top of the glass or to the maximum available mounting point, depending on the system’s requirements.
- Plumb and level: Check both side walls for plumb and the sill for level. Record any deviations; some systems tolerate minor variance with shims or adjustable hardware.
- Obstructions: Note baseboard returns, window trim, showerheads, niches, lighting, or radiators that could interfere with door travel or handle clearance.
- Access preference: Decide which side you want to open from and whether switches, towel bars, or traffic patterns influence that choice.
Tip: Always measure after waterproofing and finished wall surfaces are in place. Even small tile thickness differences change the required door size.
Glass options and thickness
Most sliding shower doors use tempered safety glass. Several visual and functional choices influence clarity, privacy, and maintenance.
- Clear: Maximizes light and makes small bathrooms feel more open.
- Frosted, patterned, or textured: Adds privacy and helps conceal water spots between cleanings.
- Tinted or low-iron: Tinted glass subtly shifts tone; low-iron reduces the greenish edge for a truer color view of tile.
Common thicknesses include 1/4 inch (6 mm) and 3/8 inch (10 mm) in many systems. Thicker glass can feel more substantial but may require more robust hardware. Always pair glass thickness with compatible roller and rail systems to maintain smooth movement and proper weight support.
Hardware finishes and handles
Visible hardware frames the look of sliding shower doors. Selecting finishes that coordinate with faucets and accessories keeps the space cohesive.
- Finishes: Popular choices include chrome, brushed nickel, matte black, and warm metallics. Matching across shower valves, towel bars, and lighting simplifies design.
- Handles and pulls: Options range from minimalist finger pulls to longer ladder-style handles. Verify that handle depth clears nearby walls and fixtures.
- Guides, stops, and bumpers: Small parts with big jobs—these maintain alignment and prevent metal-on-glass contact.
Look for solid-feeling rollers and precise bearings. Smooth, quiet rolling isn’t just pleasant; it reduces wear on fasteners and tracks.
Water management and ventilation
A well-planned sliding system directs spray back into the shower and allows humidity to escape after use. Consider these details before installation.
- Threshold and sill slope: The sill should pitch slightly toward the shower to discourage pooling against the outside seal.
- Side jamb seals: Vertical seals help close the gap between glass edge and wall. Properly sized and aligned seals reduce drips.
- Drip rails and sweeps: A bottom sweep or drip rail redirects water back inside. Check that the sweep lightly contacts the curb without dragging.
- Fixed panel overlap: Ensure enough overlap between sliding and fixed panels to contain spray, especially opposite the showerhead.
- Ventilation: After showering, slide the door open slightly to release steam, or run a bathroom exhaust fan to limit condensation and mildew.
Maintenance and cleaning
Regular, light maintenance keeps sliding doors operating smoothly and the glass looking clear. Build a routine around quick daily steps and periodic care.
- Daily or after use: Squeegee the glass and wipe the bottom sweep. Leaving panels open slightly helps dry the enclosure.
- Weekly: Clean glass with a non-abrasive, ammonia-free cleaner or diluted mild soap. Rinse and dry to prevent streaks.
- Tracks and guides: Vacuum or wipe debris from tracks and bottom guides. Hair and soap residue can impede rolling.
- Roller check: Ensure set screws are snug and rollers are aligned. If a door starts to rattle or bind, address it promptly to avoid uneven wear.
- Seals and sweeps: Inspect for hardening or gaps. Replace worn seals to preserve splash protection.
Avoid abrasive pads or harsh chemicals that can scratch glass or dull metal finishes. Always follow product labels on cleaners and protect nearby stone or tile from overspray.
Safety and durability considerations
Shower environments combine moisture, temperature changes, and frequent use. Prioritize components and practices that manage those realities.
- Tempered safety glass: Designed to crumble into small, blunt pieces if broken.
- Secure anchoring: Use appropriate fasteners and backing for rails and headers. Hollow walls or compromised studs may require reinforcement.
- Anti-jump features: Many rollers include mechanisms that keep doors engaged with the track if jostled.
- Handle and towel bar placement: Avoid using the glass door itself as a support or weight-bearing bar.
- Periodic inspections: Check for loosening fasteners, worn seals, and uneven rolling; early fixes prevent larger issues.
Style alignment and bathroom planning
Sliding shower doors can feel industrial, minimal, or classic depending on framing and finish. Choose details that coordinate with the rest of the bathroom, not just the shower.
- Visual weight: Framed bypass systems outline the opening; barn-style systems highlight the top rail and exposed rollers.
- Tile and glass conversation: Clear glass showcases tile. Textured or patterned glass adds privacy and softens bold surfaces.
- Hardware continuity: Repeat finishes across lighting, cabinet pulls, and faucets for a unified scheme.
- Ergonomics: Confirm door travel does not block valves, niches, or towels. Consider which side opens toward the main traffic path.
Accessibility and user needs
Plan entry width, handle reach, and threshold height with real users in mind. Sliding doors can reduce swing clearance demands, which helps in compact rooms, but you still need comfortable access.
- Opening width: Choose a configuration that delivers a wide enough entry for daily use and cleaning access.
- Handle placement: Position handles for easy reach from inside and outside. Avoid conflicts with adjacent walls.
- Tub considerations: On tubs, ensure the sliding panel opens on the faucet side if that makes bathing children or pets easier.
If you have specific mobility or medical considerations, consult qualified professionals for personalized guidance before selecting or installing any shower system.
Installation considerations
Whether you’re coordinating a remodel or replacing an existing enclosure, plan for surfaces, waterproofing, and sequence.
- Finished surfaces first: Tile, solid-surface panels, or waterproof wall finishes should be complete before final measurement and door fabrication or selection.
- Backing and studs: Headers and rails require solid anchoring. Verify backing positions before walls are closed.
- Curb and pan: Ensure the curb is level across its length and slopes slightly inward to the shower. Irregular curbs complicate sealing and alignment.
- Sealants: Use appropriate bathroom-grade sealants where specified. Allow proper cure times before use.
- Sequence with other trades: Coordinate with tile, plumbing, and painting to prevent conflicts and protect finished materials.
Troubleshooting common issues
Most sliding door frustrations trace back to alignment, debris, or worn seals. Here’s how to spot and address them.
- Door drags or feels rough: Check for hair or soap scum in the track. Clean and verify roller height adjustment on both sides.
- Water escaping near the jamb: Inspect vertical seals for gaps or hardening. Confirm the panel overlap is correct and the curb slopes inward.
- Rattling or panel misalignment: Tighten loose set screws on rollers and guides. Ensure stops are correctly positioned so panels don’t hit hardware.
- Persistent fogging or mildew: Improve ventilation—run the exhaust fan longer, or leave the door partially open after showers for airflow.
- Marks or scratches on finishes: Switch to non-abrasive cleaners and microfiber cloths. Avoid scouring pads and harsh chemicals.
Selection checklist
Use this quick list to compare options and document what you need before you order.
- Configuration decided (bypass, single-slider with fixed panel, tub slider, return-panel layout)
- Final opening measurements recorded (width at three points, height, plumb and level notes)
- Glass type chosen (clear, frosted/textured, tinted, or low-iron)
- Glass thickness compatible with chosen hardware
- Hardware finish selected and matched to other fixtures
- Handle style and clearance verified
- Seal plan (side jambs, bottom sweep, drip rail) and sill slope confirmed
- Ventilation strategy determined (fan use, post-shower airing)
- Maintenance plan (squeegee, non-abrasive cleaners, periodic roller checks)
Frequently asked questions
Are sliding shower doors good for small bathrooms?
Yes. Because panels slide parallel to the wall, there is no swing arc to plan around. This helps preserve floor space for vanities or toilets located near the shower. Be sure your chosen configuration still provides a comfortable entry opening.
What glass thickness should I choose?
Many systems use 1/4 inch (6 mm) or 3/8 inch (10 mm) tempered glass. Thicker glass can feel more substantial and may reduce flex, but it is heavier and requires compatible, well-supported hardware. Match glass thickness to the door system’s specifications.
How do I keep tracks and rollers clean?
Wipe or vacuum debris from the track weekly and squeegee after showers to limit buildup. Use a non-abrasive cleaner and a soft brush to loosen soap residue. Regularly check roller set screws for tightness and verify smooth travel end to end.
Can sliding doors be installed on a bathtub?
Yes. Tub sliders are common. Measure the finished width and height from the deck to your desired header position, verify that the tub deck is level, and confirm you have adequate overlap between panels to manage spray near the showerhead wall.
Do sliding shower doors leak?
Any enclosure can allow minor splashes if seals are worn or installation details are off. Proper sill slope, adequate panel overlap, intact vertical seals, and a well-fitted bottom sweep significantly reduce stray water.
What’s the best way to reduce water spots on glass?
Use a squeegee after each shower and periodically clean with a non-abrasive glass cleaner. Textured or frosted glass can also make spotting less noticeable between deep cleans.


