
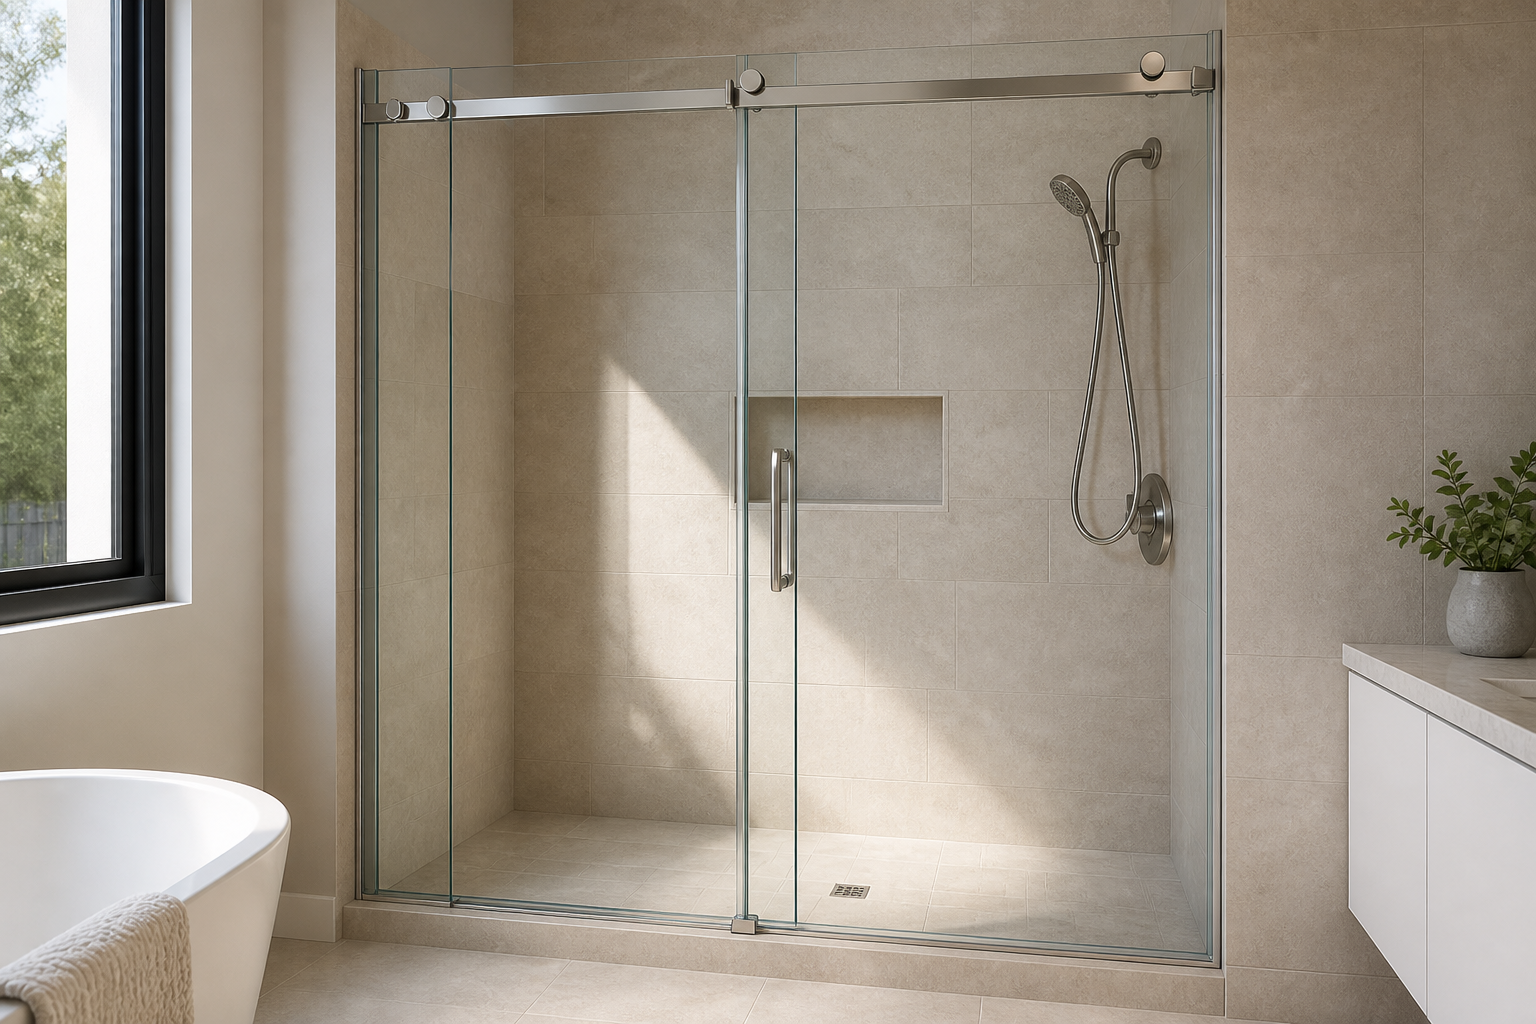
Shower door replacement: options, measurements, and installation checklist
Thinking about shower door replacement often starts with a simple question: will a new door actually solve the problems you’re facing—leaks, corrosion, sticking rollers, or a dated look? This guide walks through the decisions and steps that lead to a clean, watertight, and long-lasting result. You’ll find a quick way to decide between repair and replacement, how to choose the right glass and hardware, how to measure accurately, what to expect during installation, and how to maintain your new door.
Whether you’re updating a bathroom or addressing functional issues, a thoughtful plan will help you avoid surprises and achieve a polished finish that fits your space and style.
Repair or replace: how to decide
Before you commit to a new unit, consider whether targeted fixes could extend the life of your current door. Use this simple triage:
- Minor hardware issues: Worn sweeps, tired door seals, loose handles, or sticking rollers often respond well to part replacements and adjustments.
- Alignment problems: Sagging hinges, out-of-level headers, or track debris can cause rubbing or incomplete closure. If the glass and frame are sound, realignment and cleaning may resolve it.
- Visible glass damage: Chips, cracks, or deep scratches in tempered glass warrant replacement. Damaged glass should not be repaired for structural reasons.
- Persistent leaks: If you’ve already tried new seals, verified level conditions, and managed splash zones but still see recurring leaks, replacement (with refined layout and upgraded seals) may be the better path.
- Corrosion and pitting: Significant corrosion on tracks, headers, or hinges can undermine function and appearance; replacing the enclosure typically restores performance and aesthetics.
- Remodeling or layout changes: New tile, moved plumbing, or a different footprint often call for a new door to match clearances and style.
If you find yourself doing repeated band-aid fixes, or if safety and durability are in question, a correctly sized and properly installed new door is usually the most reliable solution.
Choose your replacement: style and configuration
The right door balances space, access, and aesthetics. Here are common configurations and where they shine:
- Sliding shower doors: Two or more panels glide on a top track or roller system. Ideal where floor clearance is tight or a swinging panel would hit nearby fixtures.
- Swing shower doors (pivot/hinged): A single glass panel swings on hinges or a pivot. Great for wider openings and a clean, frameless aesthetic. Confirm there’s room for the swing arc and code-compliant clearance in your bathroom layout.
- Neo angle shower doors: Designed for corner showers with a clipped corner. These doors maximize floor space while providing comfortable entry angles.
- Tub doors: Sliding or hinged panels over a bathtub provide a sleek, low-maintenance alternative to curtains and help control splashing.
Beyond the layout, consider the build:
- Frameless: Thicker tempered glass with minimal metal. Delivers a modern, open look and highlights tilework.
- Semi-frameless: Slimmer metal profiles around select edges for support while keeping sightlines open.
- Framed: Continuous metal around the glass edges can offer traditional styling and defined lines.
Glass and hardware choices complete the picture:
- Glass thickness: Commonly 6–10 mm (or comparable inch sizes). Thicker glass increases rigidity and a premium feel; verify hinge or roller compatibility.
- Glass finish: Clear for maximum openness; frosted, patterned, or tinted for privacy and style. Consider how finishes affect light and cleaning.
- Hardware finishes: Coordinating hinges, handles, and channels in chrome, matte black, brushed nickel, or gold can tie in with faucets and lighting.
- Handles and pulls: Ladder bars, classic knobs, or minimalist pulls change both function and style; ensure comfortable grip and clearance from adjacent walls.
Think about daily use too. If multiple users share the bath, smooth-glide rollers and robust sweeps reduce maintenance. For smaller rooms, sliders or inward-swing options may prevent conflicts with vanities or doors.
Measurements that matter
Accurate measurements are the backbone of shower door replacement. Even small discrepancies can lead to binding panels or leaky corners. Work with level, plumb, and square references:
- Openings: Measure width at the base, mid-height, and top of the opening. Note the smallest dimension to plan for out-of-plumb walls.
- Height: From the finished curb or tub deck to the desired top of the glass. Confirm ceiling height and any soffits or lights above.
- Plumb and level: Check vertical plumb of both walls and the door jamb area; verify the curb or tub deck is level along its length.
- Clearances: Ensure door swing or slider overlap won’t hit faucets, toilets, or towel bars. Leave comfortable hand clearance for handles near side walls.
- Stud backing: If using hinged doors, confirm solid backing or framing at hinge mount points to support the weight of the glass.
- Tile edge conditions: Identify bullnose edges, niches, and decorative trims that could interfere with channels or clips.
Capture all measurements after tile, stone, or solid-surface finishes are installed. Measuring on rough walls can lead to misfits when the final surfaces change dimensions.
Water control: seals and splash zones
To minimize leaks, plan water management alongside the door selection:
- Sweeps and seals: Bottom sweeps, vertical magnetic seals, and strike jambs help contain water. Align them with door gaps and the expected spray pattern.
- Threshold and curb slope: A slight inward slope toward the drain encourages runoff back into the shower.
- Showerhead direction: Aim sprays away from door seams and junctions. Consider a handheld on a slide bar for flexible control.
- Ventilation: Adequate exhaust reduces condensation and helps seals last longer by drying the enclosure between uses.
With sliding systems, verify adequate overlap at the door meeting point. For swing doors, include a threshold or sweep strategy at the bottom and ensure the strike side makes consistent contact with seals.
Installation overview and safety notes
Exact steps vary by system, but most installations follow a common arc:
- Layout and marking: Transfer measurements to the finished surfaces, confirming plumb and level reference lines for channels, hinges, or a header.
- Mounting prep: Where clips or hinges fasten through tile, drilling with appropriate bits and anchors is required. Protect tile glazing and avoid grout lines where possible.
- Setting fixed panels: Fixed glass is positioned first using channels or clips, then checked for level, plumb, and even reveals.
- Hanging the door: Hinged panels are attached and adjusted for swing, reveals, and gasket contact; sliders are set on rollers or within tracks and tested for smooth travel.
- Sealing: Silicone seals at exterior edges (not interior wet edges where drainage is needed) and sweep installation complete the enclosure.
- Final adjustments: Fine-tune roller tension, hinge alignment, and handle seating; verify leak points with a light spray test.
Tempered glass demands careful handling. If you are not experienced with glass lifting, drilling tile, or setting heavy panels, consider hiring a qualified installer. Always follow manufacturer instructions and use appropriate personal protective equipment.
Finishes, hardware, and design coordination
Your door is part of a bigger design story. Coordinate thoughtfully:
- Match or intentionally contrast metal finishes with faucets, shower valves, lighting, and cabinet pulls.
- Choose handle styles that complement the door scale—substantial ladder bars fit tall panels; compact pulls suit tighter spaces.
- Mind sightlines from the bath entry: a frameless or clear-glass look highlights tilework and can make the room feel more open.
- Plan towel and robe hooks so they don’t interfere with door travel or seals.
If you’re pairing the door with new tile or stone, finalize the enclosure layout before tile is cut at the curb and vertical edges to ensure clean landings for channels, clips, and seals.
Care and maintenance after replacement
Regular care preserves clarity and hardware performance:
- Daily squeegee: A quick pass reduces mineral spots and soap film buildup.
- Mild cleaners: Use non-abrasive, ammonia-free glass cleaners. Avoid harsh chemicals on seals and metal finishes.
- Seal check: Inspect bottom sweeps and vertical seals every few months; replace if they harden or crack.
- Roller and hinge tune-ups: Keep tracks clean; verify roller tension. For hinged doors, confirm screws are snug and gaskets intact.
- Ventilate: Run the bath fan during and after showers to dry the enclosure and extend seal life.
A few minutes of routine care prevent haze, protect finishes, and help the door close smoothly for years.
Common pitfalls to avoid
Even high-quality products disappoint if planning goes sideways. Watch for these avoidable errors:
- Measuring before finishes: Dimensions change when tile or stone is added. Measure after finishes are complete.
- Ignoring wall plumb: Out-of-plumb walls change reveals and seal contact. Choose hardware and seals that accommodate the variation.
- Underestimating door swing: A beautiful hinged panel that bumps a vanity isn’t functional. Map the swing arc or slider overlap in tape before ordering.
- Sealing the wrong edges: Over-sealing interior wet edges can trap water; focus exterior seams and let interior channels drain.
- Mixing incompatible finishes: Verify finish names across brands—what’s called “brushed nickel” can vary in tone and sheen.
- Skipping backing: Hinges and clips need solid anchoring; plan for studs or proper anchors behind tile.
Project planning checklist
Use this condensed list to keep your shower door replacement on track:
- Confirm repair vs. replacement with a quick condition check (glass integrity, hardware wear, persistent leaks).
- Select layout: sliding, swing/hinge, neo angle, or tub door based on space and access.
- Pick frameless/semi-frameless/framed; decide glass thickness and finish.
- Match hardware finish and handle style to the room’s fixtures.
- Measure width at three heights and overall height after finishes; verify plumb and level.
- Plan seals, sweeps, and threshold slope for water control.
- Verify clearances for door movement and handle placement.
- Confirm backing for hinges or clips at mount points.
- Schedule installation and allow cure time for sealants before first use.
- Set a maintenance routine: squeegee, gentle cleaners, and periodic seal checks.
FAQ
How do I know if I need a full shower door replacement instead of a repair?
If tempered glass is chipped or cracked, replacement is the safe route. Persistent leaks after seal and alignment fixes, heavy corrosion on metal parts, or a remodel that changes dimensions also point to replacement. If issues are limited to worn sweeps, magnets, or minor alignment, repair may suffice.
What’s the difference between frameless and semi-frameless doors?
Frameless doors use thicker glass and minimal metal, showcasing a clean, modern look. Semi-frameless designs add slim metal profiles to select edges for support while keeping sightlines open. Both can perform well when measured and installed correctly; the choice is typically about style, budget, and hardware preference.
Will a sliding door control water as well as a hinged door?
Both can be watertight when designed with proper overlaps, seals, and threshold strategy. Sliding doors rely on panel overlap and track design; hinged doors pair bottom sweeps and strike-side seals. Water control success depends on accurate measurement, careful installation, and directing spray away from seams.
Can I install a new door on an out-of-level curb or out-of-plumb walls?
Yes, within limits, using channels, shims, and adjustable hardware to account for deviations. Significant tilts or bows may require substrate correction to ensure smooth operation and proper seal contact.
How should I clean and maintain the new glass and hardware?
Use a daily squeegee, mild non-abrasive cleaners, and soft cloths. Avoid harsh chemicals on seals and metal. Keep tracks clear, check roller tension, and replace sweeps when they harden or crack.


