
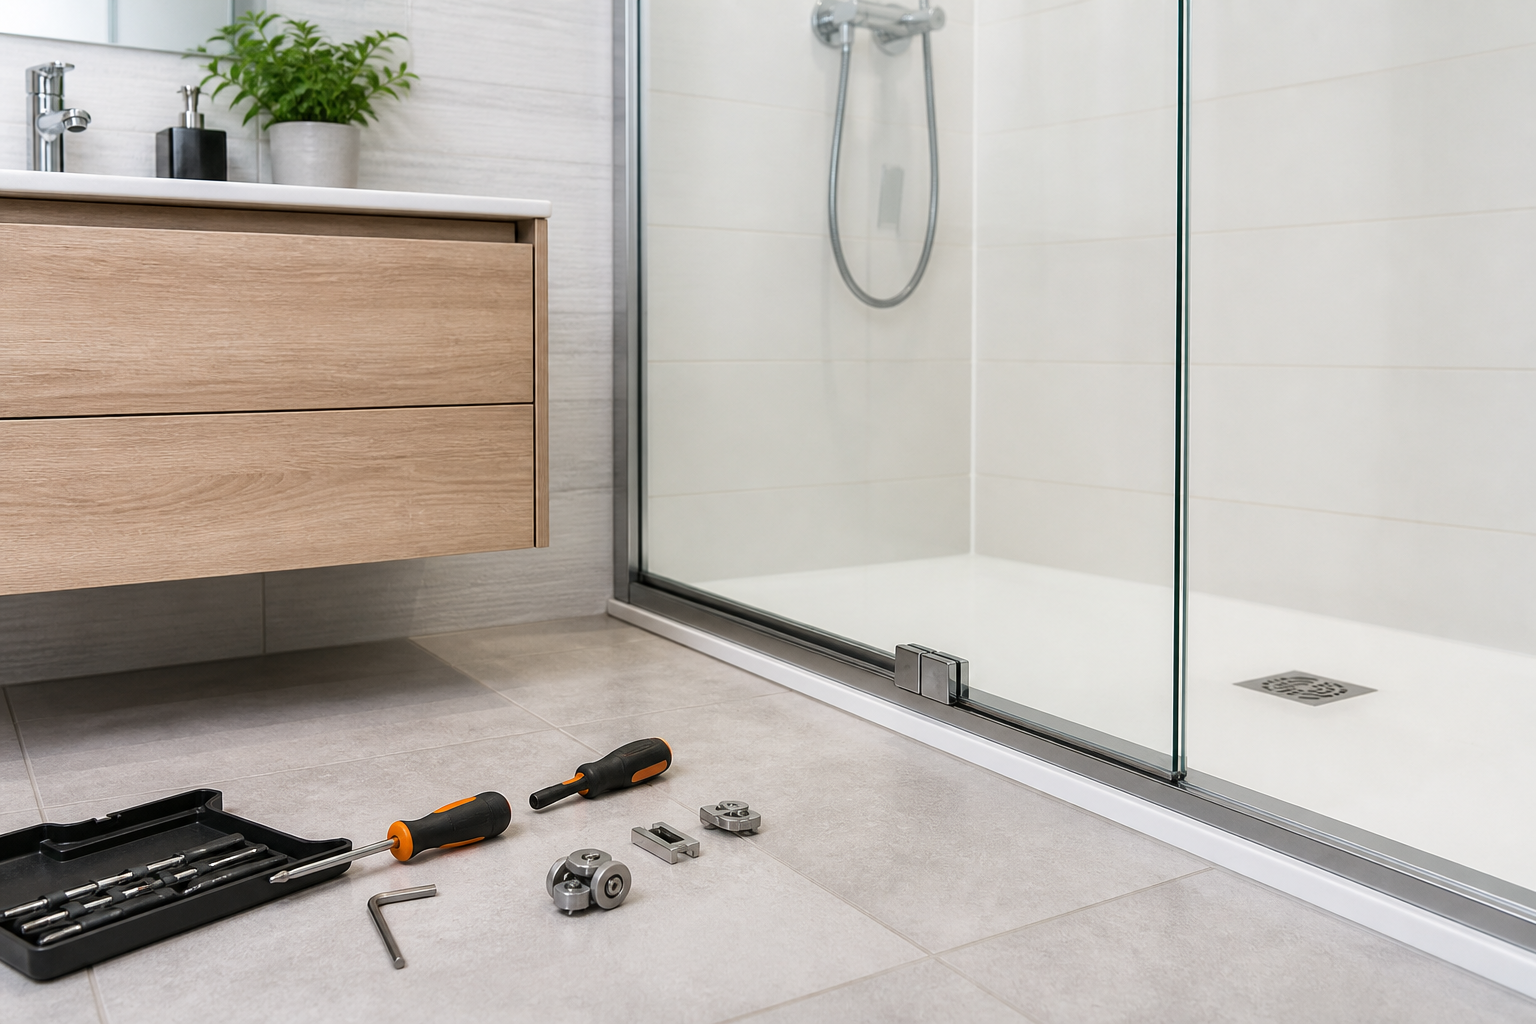
shower door repair Edmonton: how to diagnose issues, safe quick fixes, and when to replace
Looking for shower door repair Edmonton? This guide helps you pinpoint what’s wrong, attempt simple fixes you can do today, and decide when it’s time to replace instead of repair. You’ll also find a practical checklist to prepare for service and an FAQ that clears up common questions about glass types, parts, and maintenance.
What actually breaks on a shower door?
Most shower door problems trace back to a handful of components. Understanding these parts makes troubleshooting faster and safer:
- Hinges (swing doors): Support the glass and control motion. Wear shows up as sagging, grinding, or the door not closing flush.
- Rollers and track (sliding doors): Rollers carry the weight; tracks guide movement. Debris, worn bearings, or bent tracks cause sticking, scraping, or derailments.
- U-channels and clamps: Metal channels and clamps secure fixed panels. Loose fasteners can lead to rattling or leaks at panel edges.
- Seals and sweeps: Vinyl or silicone pieces along the edges and bottom keep water inside. Hard, yellowed, split, or missing seals are a top cause of puddles on the floor.
- Handles and knobs: Set screws can loosen over time; wobble or a spinning handle is common and often easy to correct.
- Tempered glass: Durable but not indestructible. Chips near the edges, impact damage, or stress from misaligned hardware can compromise it. Any crack warrants professional attention.
Most issues start small—squeaks, slight misalignment, or a minor drip—and grow into bigger repairs if ignored. Early diagnosis saves time and reduces risk.
Quick safety checks before you start
Shower doors use tempered glass and metal hardware under stress. Before attempting any DIY work, protect yourself and your bathroom.
- Wear protection: Safety glasses and cut-resistant gloves help guard against sharp hardware edges and accidental glass contact.
- Stabilize the door: If the door is sagging or a roller is off track, prop the panel gently with a folded towel or rubber wedge to relieve stress while you inspect.
- Check for cracks: If you see a crack, deep chip, or “spider” pattern in the glass, avoid further handling and keep people (and pets) away from the area.
- Mind the weight: Even smaller glass doors are heavy. Don’t remove panels solo. Many adjustments can be done without taking a panel down—prioritize those.
- Ventilate: If you’ll use cleaners, ensure airflow to avoid inhaling fumes, and never mix chemicals like bleach and ammonia.
DIY fixes you can try today
Several common issues have simple, safe fixes that don’t require special tools. Work slowly and recheck alignment after every small adjustment.
Door not closing or rubbing the curb
- Tighten hinge screws (swing): Open the door and use a screwdriver to snug hinge screws on both the wall and glass-side plates. Do not overtighten into anchors; if a screw just spins, the anchor may be stripped and needs replacement.
- Adjust hinge tension (if applicable): Some hinges include small set screws for micro-adjustments. Quarter-turn changes can lift or lower the door slightly.
- Clean the threshold: Soap scum builds up on the curb and can “grab” the sweep. Clean with a non-abrasive bathroom cleaner, rinse, and dry.
Sliding door sticks or jumps
- Clear the track: Vacuum the top and bottom tracks (where present) to remove hair and grit. Wipe with a damp cloth and dry fully.
- Inspect rollers: Look for flat spots, wobble, or missing bearings. If a roller is visibly damaged, replacement is usually straightforward: loosen its mounting screw, swap the roller, and re-secure while the panel is supported.
- Check level: A slightly out-of-level header or bottom guide can cause binding. If your model allows, tiny adjustments at mounting points can restore smooth travel.
Leaks and puddles after showering
- Replace a worn bottom sweep: If the door leaves a trail after opening, the sweep may be hardened or cut short. Match the profile and length, slide or snap in a new sweep, and trim ends square.
- Re-seat vertical seals: Magnetic or fin seals can shift. Press them back into place so they close the gap evenly from top to bottom.
- Refresh silicone at fixed panels: If you see gaps or mold-stained silicone along stationary glass, carefully remove the old bead with a plastic scraper and re-silicone with a bathroom-grade sealant. Let it cure per product directions before showering.
Loose handle or knob
- Tighten set screws: Most handles have tiny set screws underneath. Use the correct driver (often a small hex/Allen key). Tighten gently until the wobble stops.
- Check gaskets: If a handle compresses rubber gaskets against the glass, make sure they’re seated evenly to avoid point pressure on the panel.
If a fix involves removing a full glass panel, drilling into tile, or handling cracked glass, it’s safer to pause and consult a professional.
When repair isn’t enough: signs you may need to replace
Repairs are ideal for hardware wear and seal issues. Replacement becomes the smarter route when underlying fit, damage, or functionality is compromised.
- Cracked or deeply chipped glass: Tempered glass cannot be repaired. Replacement is the safe option.
- Chronic misalignment: If hinges or rollers have been adjusted to their limits and the door still sags or scrapes, the geometry or anchoring may be off.
- Persistent leaks after seal refresh: Water escaping at multiple points may indicate an enclosure style or fit mismatch for the site conditions.
- Corroded or pitted hardware: Surface rust can sometimes be cleaned, but structural corrosion that weakens a hinge, clamp, or track calls for new parts or a full system refresh.
- Major remodels: If tile, curb height, or layout are changing, replacement allows you to match the new opening precisely and update style and hardware finish.
When considering replacement, take measurements at multiple points (widths at top, center, bottom; height at left and right) to reveal out-of-plumb or out-of-level conditions. Even small deviations guide hardware selection and door type.
How to choose between door types after a failure
If a repair evolves into a replacement decision, your choice of enclosure can solve the root problem and improve everyday use.
- Frameless swing doors: Clean look and wide access. Require plumb walls and solid anchoring; sweeps and seals manage water.
- Sliding shower doors: Great where a swinging radius is tight. Smooth rollers and aligned tracks are the keys to longevity.
- Neo-angle doors: Designed for corner showers. Hinge choice and precise panel angles matter for leak control and smooth closing.
- Tub doors: Add splash control and style over a bathtub without a curtain. Consider bypass sliders for easier access at either end.
Match hardware finishes across your bathroom (common choices include chrome, matte black, brushed nickel, and gold) for a cohesive result. Balance aesthetics with the practical needs of your space—clearances, ventilation, and cleaning access.
How to talk to a pro and what to ask
Whether you pursue repair or replacement, a short, focused conversation saves time and avoids repeat visits. Use this checklist when you reach out:
- Describe the symptom: Sticking, sagging, leaks at the curb, rattling, or a loose handle.
- Share the door type: Swing, sliding, neo-angle, or tub door; framed or frameless if you know it.
- Note the age and any prior fixes: Mention replaced rollers, adjusted hinges, or re-silicone work.
- Provide photos: Include a wide shot, close-ups of hinges or rollers, and the problem area (e.g., bottom sweep, track bend).
- Give rough measurements: Opening width(s) and height, plus any noticeable out-of-plumb walls.
Helpful questions to ask:
- Can this be addressed with a hardware or seal replacement, or is the panel itself compromised?
- How will you verify alignment (e.g., adjust hinges, reset tracks, replace guides)?
- What maintenance should I plan to keep the repair working well?
Maintenance that prevents future issues
A few minutes each month can help your door operate smoothly and keep water where it belongs.
- Rinse and dry glass: After showering, a quick squeegee and wipe reduces mineral buildup at seals and sweeps.
- Keep tracks clean: For sliders, vacuum and wipe tracks and guides so grit doesn’t wear rollers.
- Inspect seals quarterly: Look for splits or stiffness. Replace as soon as they stop making full, even contact.
- Check fasteners: Lightly snug hinge, clamp, and handle screws. Avoid overtightening against glass.
- Watch for early signs: New squeaks, drips after opening, or a door that doesn’t settle closed are early repair cues.
Troubleshooting cheat sheet
- Sagging swing door: Tighten hinge screws, micro-adjust tension, replace worn hinge if adjustment maxes out.
- Slider scraping noise: Clean track, inspect and replace flat-spotted rollers, verify header level.
- Water on floor near hinge side: Replace vertical seal, confirm sweep is long enough and angled inward.
- Rattle at fixed panel: Check U-channel screws and silicone bead; re-seat and re-silicone as needed.
- Handle wobble: Tighten set screw; check gaskets and back-to-back alignment.
FAQ
Is tempered glass repairable if it’s cracked?
No. Tempered glass cannot be repaired once it’s cracked or deeply chipped. For safety, avoid using the shower and arrange for panel replacement.
How do I know whether I need new rollers or a whole new sliding door?
Start with cleaning and inspection. If the door rolls smoothly after cleaning and a single roller replacement, a full system may not be necessary. If rollers keep failing, the track is bent, or the header is out-of-level, replacement becomes more practical.
What’s the fastest DIY fix for a small leak?
Replace the bottom sweep with a matching profile and ensure the vertical seals meet evenly. Many leaks come from hardened sweeps or shifted magnetic strips.
Can I drill new holes in tile to rehang a door?
It’s possible but not recommended as a first step. Misplaced holes can weaken tile and create leak paths. Try hinge or track adjustments and proper anchors first. If new holes are needed, measure carefully and use the right bit and anchors—or consult a professional.
How often should seals and sweeps be replaced?
There’s no universal schedule, but many households refresh bottom sweeps every 12–24 months depending on water chemistry and usage. Inspect quarterly and replace at the first signs of stiffness, shrinkage, or gaps.


