
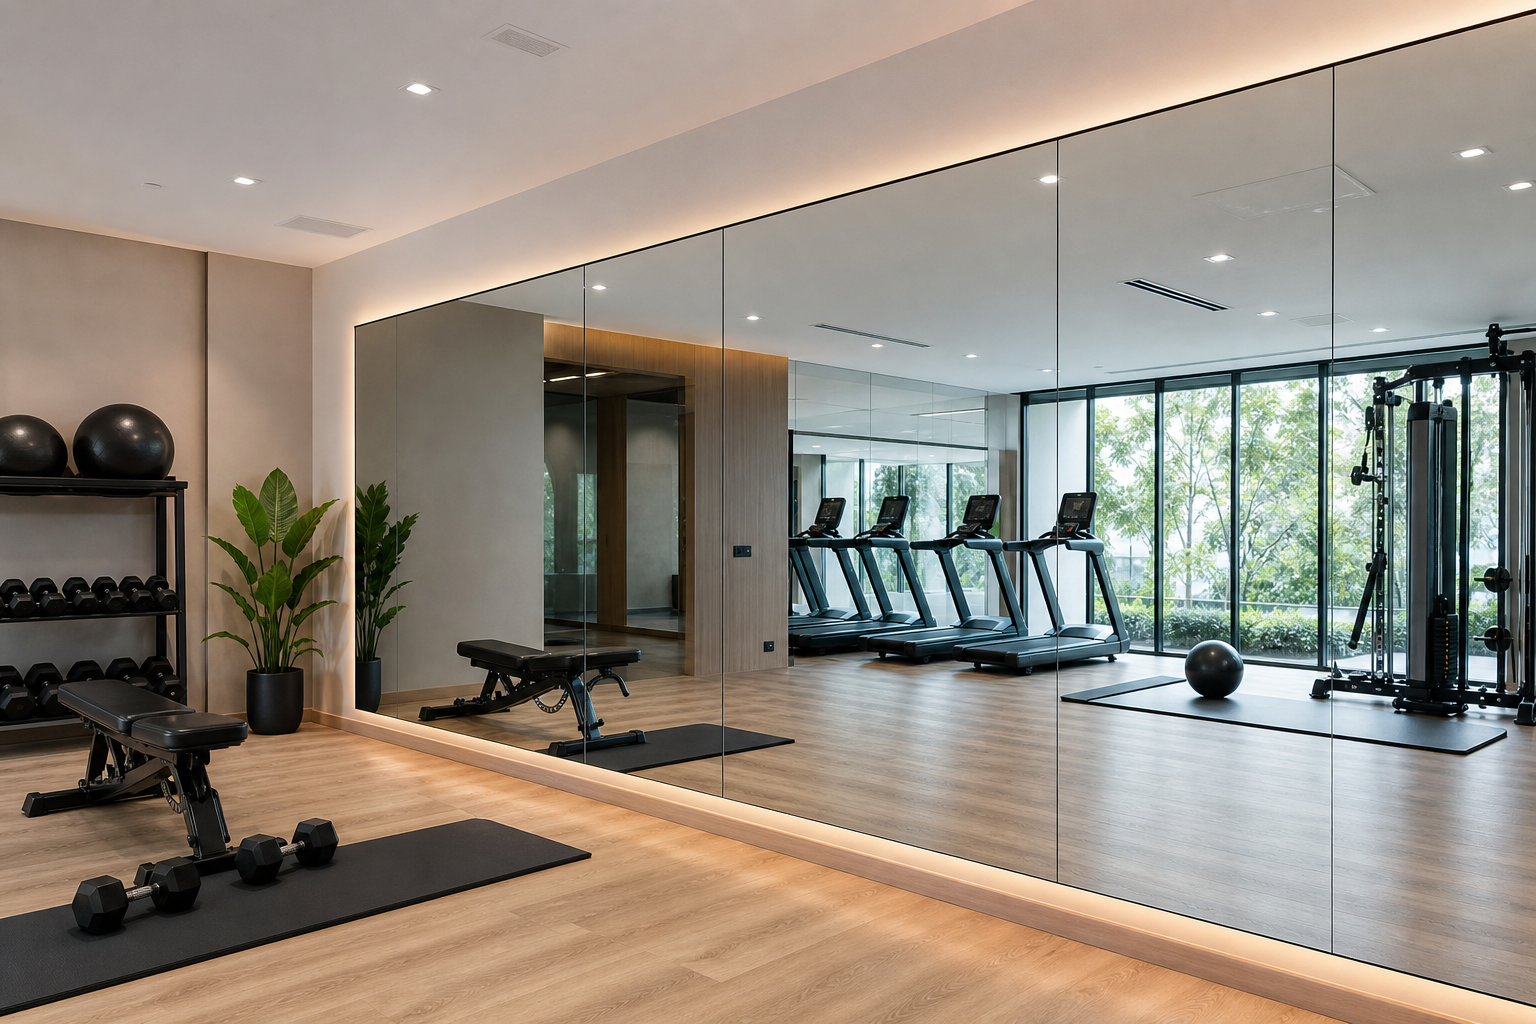
How to plan gym and studio mirrors
This ordered checklist helps Edmonton-area gym owners, studio managers, home gym builders and contractors decide which gym and studio mirrors to buy, how to measure and plan panel layout, what mounting method to choose, and what to check on the day of installation. It is a decision and inspection guide, not a price quote. Use the steps below to collect the measurements and questions you need before requesting a site measurement and quote.
Step 1: Confirm the use case and performance requirements
Start by classifying the space. Is this a private home gym, a low-traffic studio for small classes, or a high-traffic commercial facility? That primary choice determines safety, backing, panel size and distortion tolerance.
- Home gym: tempered or laminated panels are often adequate for lower traffic and minimal public exposure.
- Low-traffic studio: use commercial-grade panels with safety backing if clients or public access is expected.
- High-traffic commercial gym: specify safety-backed, industry-grade mirrors designed for frequent use and straightforward repair procedures.
Practical decision rule: choose safety-backed commercial mirrors when the mirror wall will be used by many people or when a fall or impact could present a liability. For background on why commercial-grade mirrors differ from decorative sets and tiles, see industry notes on professional mirror choices and installation issues at The Mirror Company and related buyer guides.
For planning layout and mirror type, consider how you will use reflected feedback. Form-critical training and dance require low-distortion, full-height coverage. Weight rooms need mirrors positioned for compound lifts and to avoid placing mirrors in zones where heavy equipment could strike them. For layout tips, consult guidance on home gym setup and mirror placement that covers sightlines and spacing at AEKE.
Step 2: Pick mirror type and safety backing
Compare the common panel types and their key features. Use this short list of decision points to match the panel to the use case.
- Tempered glass, heat-treated for strength, breaks into small granular pieces. Suitable for many indoor applications but often paired with backing in commercial settings.
- Laminated mirror, with an interlayer, holds shards on impact and is common where extra safety is required.
- Safety-backed commercial mirrors are standard for studios and gyms because they reduce the risk of loose shards and help contain breakage.
Do not use pieced decorative tiles to create a mirror wall in a gym. Small panels and ad-hoc seams create visible joints, alignment issues and more installation complexity. For buyer guidance and safety-backed options, see Hal's Glass Gym Mirror Buyer's Guide.
Step 3: Measure walls and plan panel sizes and seams
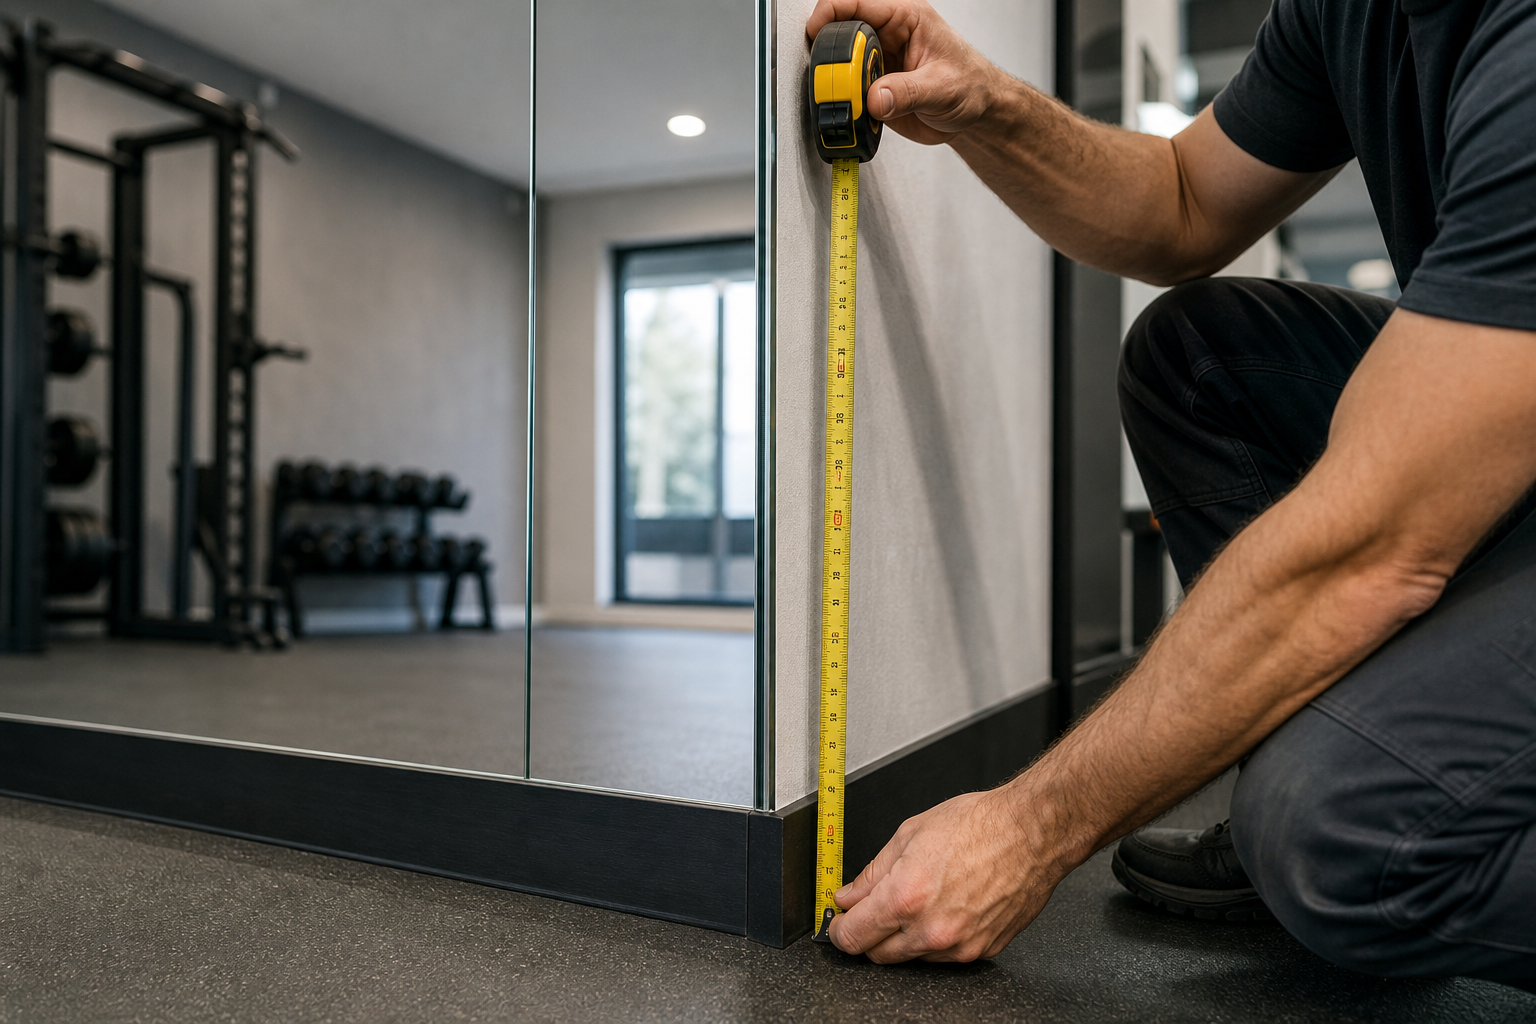
Accurate measurements and a clear panel plan avoid costly changes on install day. Use the checklist below during your site measurement or before booking a professional visit.
What to measure
- Wall width and height at three points to confirm flatness and variation.
- Distance from finished floor to anticipated bottom of mirror and to ceiling or crown moulding.
- Location of obstructions: vents, baseboard heaters, handrails, electrical outlets and light switches.
- Wall construction: drywall, plaster, concrete, studs or any blocking behind the surface.
- Nearby equipment footprint and expected movement zones for sightline planning.
Panel layout rules
- Keep individual panels manageable for transport and handling. Very large, single pieces increase risk and cost. Your installer will recommend maximum panel widths for safe handling.
- Plan seams where they fall behind less visually critical zones if possible, for example behind equipment or at natural breaks in the wall.
- Match seam positions to sightlines. Long horizontal sightlines show seams; stagger or centre seams to reduce visual disruption for dance and barre spaces.
Seam tolerance and distortion checks
Expect some seam visibility; a quality installation minimises seam width and keeps reflections aligned. Ask your installer what seam gap and alignment tolerance they guarantee and request before and after photos of comparable installations.
References such as The Mirror Company and AEKE explain common layout mistakes that increase visible seams and distortion and why sheet size, backing and installation method matter for a distortion-free wall.
Step 4: Choose mounting method and prepare the wall
Three common mounting systems are adhesive bonding, clip or cleat systems, and top-rail supports. Each has tradeoffs. Commercial sources such as Hal's Glass outline the pros and cons of these methods for gym installations.
Adhesive bonding
- Pros: clean finish, continuous contact, minimal visible fixings.
- Cons: requires extremely flat substrate, needs proper moisture control and manufacturer-approved adhesives. Not ideal if panels must be removed frequently.
Clip or cleat systems
- Pros: mechanical support, easier removal for repair or replacement, forgiving of minor wall irregularities when installed with proper backing plates.
- Cons: small visible fittings, requires precision alignment.
Top-rail systems
- Pros: excellent for large panels, distributes weight, simplifies long mirror walls.
- Cons: requires secure blocking or structural support at the rail.
Wall-prep checklist: confirm flatness to within installer tolerance, install blocking or studs where required, address moisture or vapour barriers, and remove trims or mouldings that interfere with flush mounting. If bonding is chosen, the finish and flatness of the wall directly affect adhesive performance.
Step 5: Plan lighting, sightlines and placement for training feedback
Good mirror placement is about function as much as coverage. Lighting, glare and sightlines determine how useful a mirror is for form correction.
Placement matrix by activity
- Dance and barre: full-height continuous walls with minimal seams produce uninterrupted feedback.
- Weight training: mirrors at eye level plus additional lower panels help with form on squats and deadlifts. Avoid placing mirrors directly behind heavy drop zones.
- Yoga and Pilates: a forgiving seam plan and lower reflectance lighting reduce distraction, aim for clear midline sight.
Measure for reflective hotspots. Place lighting so it illuminates participants without creating strong glare on the mirror surface. The AEKE guide on home gym layout is a good reference for sightline and spacing considerations.
Step 6: Select a local supplier and vet installers in Edmonton
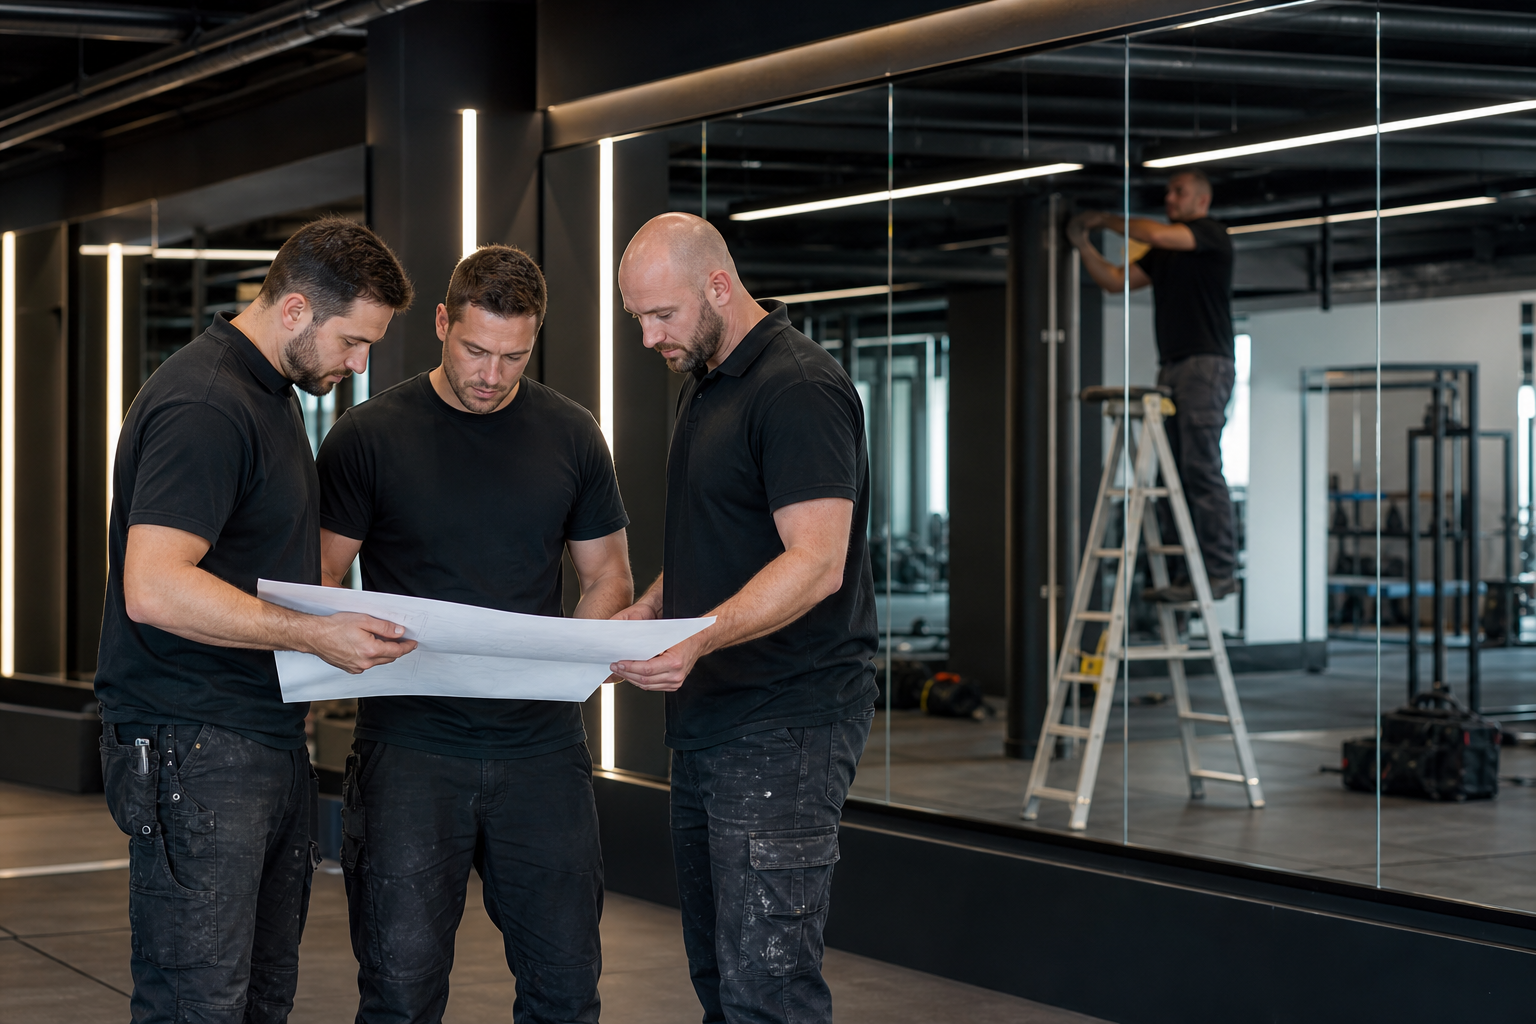
For Edmonton projects, prefer suppliers who offer local fabrication and full installation. Working with a vendor that measures, fabricates and installs reduces coordination errors and helps with warranty and repair follow-up. OZ Shower Doors provides local manufacturing, custom fabrication and professional installation in Edmonton; see their gym mirror page for product examples.
Questions to ask at quote
- Do you provide on-site measurement and a written layout proposal?
- What mirror type and backing do you recommend for my space and why?
- Which mounting method will you use and what wall-prep is required?
- Can you show before and after photos of similar gym or studio jobs?
- What warranty and maintenance plan accompanies the work?
- How do you handle scheduling, appointment reminders and follow-up on repairs or missing parts?
Decision criteria checklist
- Local fabrication and in-house installation capacity.
- Relevant experience with gym or studio mirror walls, with photos.
- Clear written scope, mounting method, seam tolerance and warranty.
- Responsive scheduling and an appointment reminder protocol to avoid missed visits.
OZ Shower Doors lists gym mirror options and installation services on its gym mirror page and the company website describes its end-to-end process from consultation to follow-up. Use those pages to confirm local capability and request a site visit.
Step 7: Day-of-install checklist, final inspection points and maintenance
Use this day-of checklist before you sign off on the job. Take photos and keep them with your installation records.
- Verify panels are level and aligned across adjacent panels.
- Confirm the mounting method is as quoted and that mechanical fixings or adhesive beads are secure and neat.
- Inspect seam spacing and view reflections across the seam for visible distortion.
- Check silicone or finishing beads are tidy and compatible with the mirror backing.
- Ask the installers to demonstrate that panels can be removed or accessed if repair is needed, and note the fastener locations.
- Obtain written warranty documents and a recommended maintenance schedule from the installer.
Maintenance tips: clean with manufacturer-recommended non-abrasive cleaners, avoid ammonia on some backing systems, and schedule inspections if the wall is exposed to heavy use or impact risk. If repairs are required, document before and after photos and follow the installer’s repair QA protocol. OZ emphasizes quality installation and aftercare on its site.
Step 8: Next step, request a site measurement and quote
When you are ready, gather room photos, wall measurements, typical activity and expected daily traffic, then request a site measurement. A professional measurement avoids misquotes and lets the installer recommend panel sizes, mounting method and seam placement precisely. OZ Shower Doors offers local measurement, custom fabrication and installation in Edmonton and surrounding communities; use their gym mirror page to request a site visit and quote.
Frequently asked questions
Do gym and studio mirrors need safety backing
Yes for public and high-traffic spaces. Safety-backed or laminated mirrors contain shards in the event of impact and are the industry standard for studios and commercial gyms. Home gyms may use tempered panels if access is restricted and the risk is lower. See Hal's Glass for details on safety-backed options.
How are seams handled for a large mirror wall
Installers plan panel sizes to place seams at low-visibility locations and to minimise gap width. Seam alignment across reflections is tested on-site. Avoid using small decorative tiles to form a mirror wall because seams multiply and cause visible distortion.
Can mirrors be mounted on drywall or plaster
Yes when the wall has proper blocking or mechanical support. Adhesive bonding requires a flat, stable surface and correct moisture conditions. If blocking is absent, installers usually add support or use a mechanical rail system to secure panels safely.
What should I expect during a site measurement
An accurate measurement team records wall flatness, obstructions, construction type, lighting and equipment placement. Expect them to recommend panel sizes, mounting method and seam placement and to document the scope for a written quote.
Do you install commercial gym mirrors in Edmonton
Yes. Local providers that offer measurement, fabrication and installation reduce coordination issues. OZ Shower Doors lists gym mirror services and local installation on its gym mirror product page and company site.
Ready to move forward? Request a site measurement and quote from OZ Shower Doors to get a custom plan for gym and studio mirrors in Edmonton.


